
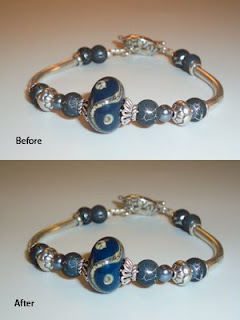
Concerned about the rust colour cast in her photo I offered to fix the cast and show the process
involved as well.
Once opened in photoshop I chose to use the hue-saturation adjustment layer method to fix this cast. There are numerous other ways in which this could be done but I chose this one for it's ease and quickness.
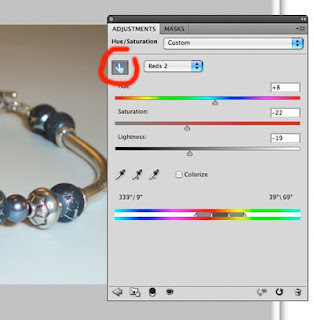
Once I added the adjustment layer I chose the adjustment slider (circled in red) and then clicked on the offending colour. You will note that the drop down menu then turned to :Reds 2 which meant that just those colours were selected. I then moved the sliders to the numbers you see in the capture.
This is where a little exper-imentation come into play and you will have to see which numbers will work best. It is all done on an adjustment layer so it is non-destructive and you can make changes and go back to them as many times as you wish until you have the desired effect that you would like. If you are using an older version of photoshop... you will notice that the adjustment slider is not there. In those versions you will simply use the eyedropper instead.
Photo of the day
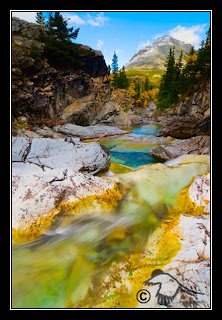
"The colours of fall simply display that which is truly "inside" mother nature"
The photo of the day as well as all my photos are available as Limited Edition Prints, Small Prints, or as Fine Art Photography Cards that come with their own envelope at Larsphotography.com


2 comments:
Thanks so much for the help and information adjusting that photograph, it made such an amazing difference to the true color of the piece.
Fabulous Color Cast Correction techniques
Post a Comment